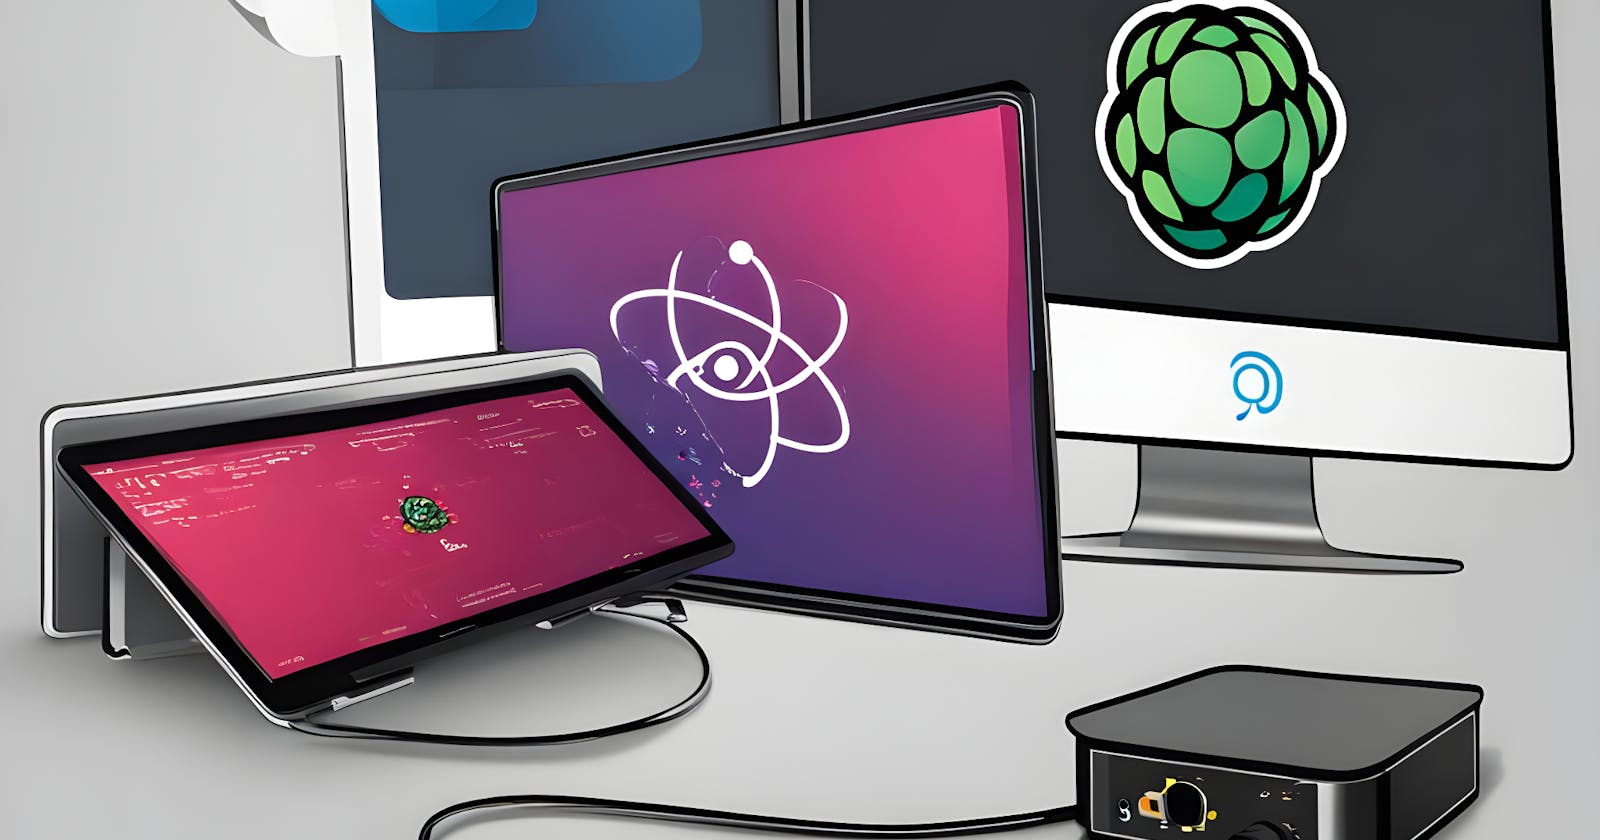
Riding the IoT Wave: A Hands-On Guide to Raspberry Pi, ReactJS, Python, and MQTT


Objectives
Setup Raspberry Pi with breadboard with lights configured on the GPIO
Install Python on Raspberry Pi and write code to listen to MQTT
Using public MQTT broker EMQX
Create a react application to control the lights configured on the Raspberry Pi
Objectives
Setup Raspberry Pi with breadboard with lights configured on the GPIO
Install Python on Raspberry Pi and write code to listen to MQTT
Using public MQTT broker EMQX
Create a react application to control the lights configured on the Raspberry Pi
What is Raspberry Pi?
It is a Microcontroller that can handle all types of computing and also it is called a Debit card-size computer.
We can use this as an actual computer and it has default GPIO pins which help us to interact with multiple sensors and actuators.
Use case
This is the foundation of all Smart home appliances and smart homes like turning on the light from Amazon Echo, Google Assistant, mobile applications etc...
Step 1: How to set up Raspberry Pi?
1. Install the Raspberry Pi OS from the following link
https://www.raspberrypi.com/software
2. Install Python on the Raspberry Pi using the following commands
    sudo apt update
    sudo apt install python3
3. Create a Python file and install dependencies for MQTT
pip3 install paho-mqtt
4. Open the Python file in your favorite code editor and follow the code as follows
    import paho.mqtt.client as mqtt
    import time

    mqtt_broker_address = "your_broker_address"  # Replace with your MQTT broker address
    topic = "iot/sensor_data"

    client = mqtt.Client("raspberry-pi")
    client.connect(mqtt_broker_address)

    while True:
        # Read sensor data here
        sensor_data = 25.5  # Replace with your actual sensor data
        client.publish(topic, sensor_data)
        time.sleep(10)  # Publish data every 10 seconds
Step 2: Create a ReactJS Web Application
Set up a ReactJS project if you haven’t already. You can use Create React App or your preferred method.
Install the MQTT.js library to subscribe to the MQTT broker in your React app:
npm install MQTT — save
Step 3: Create a React Component to Subscribe to MQTT
Create a React component that connects to the MQTT broker and subscribes to the topic where the Raspberry Pi is publishing data.
Update the state of your React component when new MQTT messages arrive, and display the data in your web application.
    import React, { useEffect, useState } from 'react';
    import mqtt from 'mqtt';

    const brokerUrl = 'your_broker_address'; // Replace with your MQTT broker address
    const topic = 'iot/sensor_data';

    const App = () => {
      const [sensorData, setSensorData] = useState('');

      useEffect(() => {
        const client = mqtt.connect(brokerUrl);

        client.on('connect', () => {
          console.log('Connected to MQTT broker');
          client.subscribe(topic);
        });

        client.on('message', (topic, message) => {
          setSensorData(message.toString());
        });

        return () => {
          client.end();
        };
      }, []);

      return (
        <div className="App">
          <h1>Sensor Data</h1>
          <p>{sensorData}</p>
        </div>
      );
    };

    export default App;
Step 4: Now Run Your Raspberry Pi Script
Run the Python script on your Raspberry Pi that publishes data to the MQTT broker.
Choose your GPIO which is connected with an LED bulb.
Update the same GPIO whenever there is a message from react via MQTT
It will handle the lights in real-time.
Conclusion
Now, your Raspberry Pi will publish sensor data to the MQTT broker, and your ReactJS web application will display this data in real time. Make sure to replace placeholders with your actual MQTT broker address, sensor data, and any other specific details for your project.
This is a basic example, and you can expand upon it by adding more sensors, features, and security measures as needed for your IoT project.
Attaching the Github repo here